You can set up AT&T Internet Air in about 10 to 15 minutes using the Smart Home Manager app and proper gateway placement, no technician needed.
I wrote this because a lot of people assume a wireless home internet setup is complicated. I tested the official setup flow from AT&T and looked at common user mistakes. Most issues come from skipping placement steps, not the setup itself.
If you just received your device, follow this once, and you’ll be online fast.
Table of Contents
Who this is for
This is for you if:
- You just ordered AT&T Internet Air
- You want to set it up yourself
- You want the best speed from day one
If you expect installation like fiber or cable, this works differently.
What comes in the box
You’ll usually find:
- AT&T All-Fi Hub
- Power adapter
- Setup guide or QR card
Before you start, place the hub near a window. This directly affects your speed.
Step 1: Download the app
Search for the AT&T Smart Home Manager app.
Then:
- Open the app
- Sign in with your AT&T account
- Tap set up equipment
If you’re new, follow the registration steps inside the app.
Step 2: Scan the QR code
Look at the bottom of the All-Fi Hub.
- Scan the QR code using the app
- This links your device to your account
If scanning fails, enter the code manually from the label.
Step 3: Find the best placement
This step matters the most.
AT&T Internet Air depends on a wireless signal from nearby towers.
For better performance:
- Place the hub near a window
- Try a higher floor if possible
- Keep it away from thick walls
- Avoid placing near TVs or metal objects
- Keep it out of direct sunlight
The app may show a signal tool to guide you.
Step 4: Plug in the hub
- Connect the power cable
- Plug into a wall outlet
The hub will turn on automatically.
You’ll see lights as it starts up. Give it a few minutes.
Step 5: Check signal quality
The hub will test signal strength.
You’ll see:
- Red light means weak
- Yellow means decent
- Green means strong
You can also check speeds inside the app.
If the signal is weak, move the hub and test again.
Step 6: Set up WiFi
Now configure your network:
- Set your WiFi name
- Create a password
- Save settings
Then connect your devices:
- Phone
- Laptop
- TV
You can also scan the QR code on the hub to connect faster.
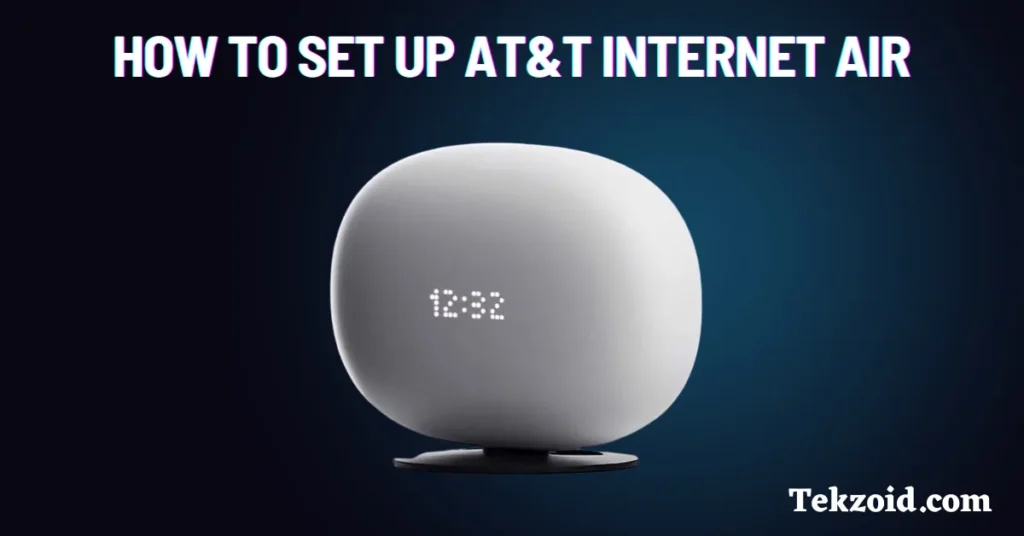
When you see the clock display, your setup is complete.
Manage your network
Using the app, you can:
- Check speed
- See connected devices
- Restart the hub
- Fix basic issues
This makes it easy to manage everything from one place.
Common mistakes to avoid
- Placing the hub in the center of the house
- Keeping it behind walls or furniture
- Ignoring signal indicators
- Not testing different positions
Most speed issues come from poor placement.
Real setup experience
From what I’ve seen, setup is simple.
The difference comes from placement:
- Good placement gives stable speeds
- Bad placement leads to slow internet
Spend extra time finding the best spot.
Video Tutorial:
My take
AT&T Internet Air is easy to install and works well if your signal is strong.
But it’s not a plug-anywhere device.
If you get placement right, you’ll get much better results.
FAQs
Do I need a technician for AT&T Internet Air?
No, it’s a self-install setup using the Smart Home Manager app.
Where should I place the hub?
Near a window, preferably on a higher floor for a better signal.
Why is my speed slow after setup?
Usually due to a weak signal or poor placement. Try moving the hub.